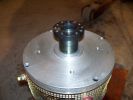
1st half coupler on motor2867 viewsMounted 1/2 the coupler on the first motor.
|
|
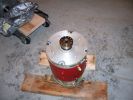
2nd half coupler mounted2502 viewsMounted the other half the coupler on the other motor.
|
|
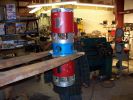
Putting them together3438 viewsBoth motors together! Bolted to the motor-motor mount.
|
|
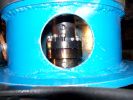
Bolting coupler together3757 viewsWe hadn't realized just how difficult it was going to be to tighten the bolts holding the coupler together. It was really awkward and hard. Took 2 people. (one turning the motor, the other holding the allen wrench.)
This was compouned when we discovered another alignment problem. Turns out that the end bells of the Impulse 9 motors aren't that accurately machine. We had a 10-20 thousandths variance between them that we had to shim.
|
|
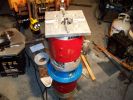
Getting ready to put on the Flywheel adapter2709 viewsThe Flywheel adapter is also a heated press-fit. We made sure we had spacers to keep it from going on the shaft too far.
|
|
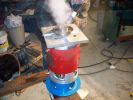
Flywheel adapter is on!3785 viewsCooling it down after pressing it on to the shaft. (more like setting it on, and tapping it gently down.)
|
|
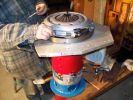
Flywheel and cluth mounted3620 viewsBolted things together, bolted on the flywheel and clutch assemblies.
|
|
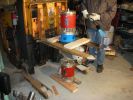
Setting up to couple the motors4358 viewsThis is how we setup to couple the motors. Since both ends of the coupler are heated press-fit, once it's on. It's on. Forever.
|
|
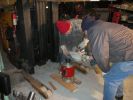
Putting coupler on 1st motor2691 viewsWe heated the coupler with a torch until it was VERY hot. Then we stil had to pound it down on the shaft.
Not a good sign.
|
|
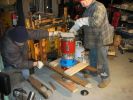
2nd motor 2384 viewsThen we quickly lowered the 2nd motor down into the coupler, and once again had to do some pounding.
Another bad sign.
|
|
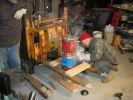
Cooling it all off3017 viewsCooling the coupler down to keep the bearings from getting cooked.
|
|
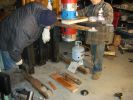
Examining the result2265 viewsHere we are looking at the result, and finding that the motors had NOT pressed far enough into the coupler.
We had a 1/2" of extra space to deal with.
We were going to just add a 1/2" spacer, until we did some measuring, and found that the motors were NOT coupled straight. There was a definite wobble.
|
|
|
|