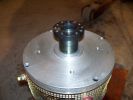
1st half coupler on motor2867 viewsMounted 1/2 the coupler on the first motor.
|
|
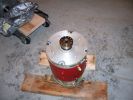
2nd half coupler mounted2502 viewsMounted the other half the coupler on the other motor.
|
|
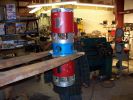
Putting them together3438 viewsBoth motors together! Bolted to the motor-motor mount.
|
|
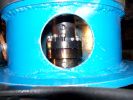
Bolting coupler together3757 viewsWe hadn't realized just how difficult it was going to be to tighten the bolts holding the coupler together. It was really awkward and hard. Took 2 people. (one turning the motor, the other holding the allen wrench.)
This was compouned when we discovered another alignment problem. Turns out that the end bells of the Impulse 9 motors aren't that accurately machine. We had a 10-20 thousandths variance between them that we had to shim.
|
|
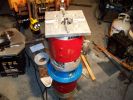
Getting ready to put on the Flywheel adapter2709 viewsThe Flywheel adapter is also a heated press-fit. We made sure we had spacers to keep it from going on the shaft too far.
|
|
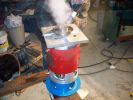
Flywheel adapter is on!3785 viewsCooling it down after pressing it on to the shaft. (more like setting it on, and tapping it gently down.)
|
|
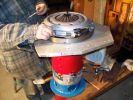
Flywheel and cluth mounted3619 viewsBolted things together, bolted on the flywheel and clutch assemblies.
|
|
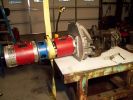
Motor and Transmission4232 viewsHere is the full drive assembly. Both Impulse 9 motors, transmission and transfer case.
We are going to lift it into the truck from the bottom.
|
|

Pulling the engine11429 viewsRemoving the 460cui gas engine. (Having a forklift really made this easier.)
All 762 pounds of it!
|
|

Position motors10550 viewsMotors were mounted to the transmission, then lifted in from below.
Transmission was then bolted to it's mounts, and the motors placed on blocks to keep everything in position
|
|

Building Motor Mounting Framework9592 viewsWe decided it was easiest to juts build the motor mounting framework in place. Carefully cut pieces and clamp them in place, then tack weld it all together.
|
|
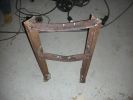
Completed Motor Mount7833 viewsThis is the motor mounting framework, after all the welding was complete.
|
|
|
|